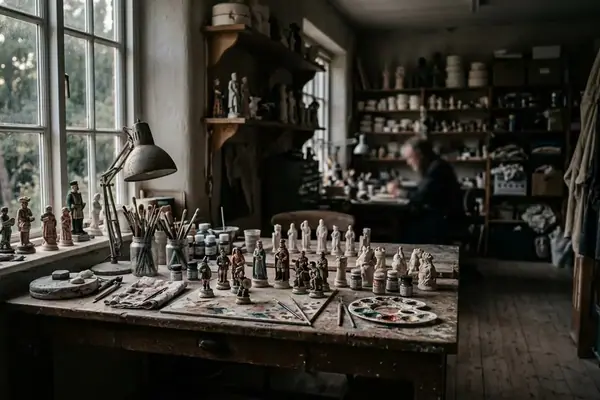

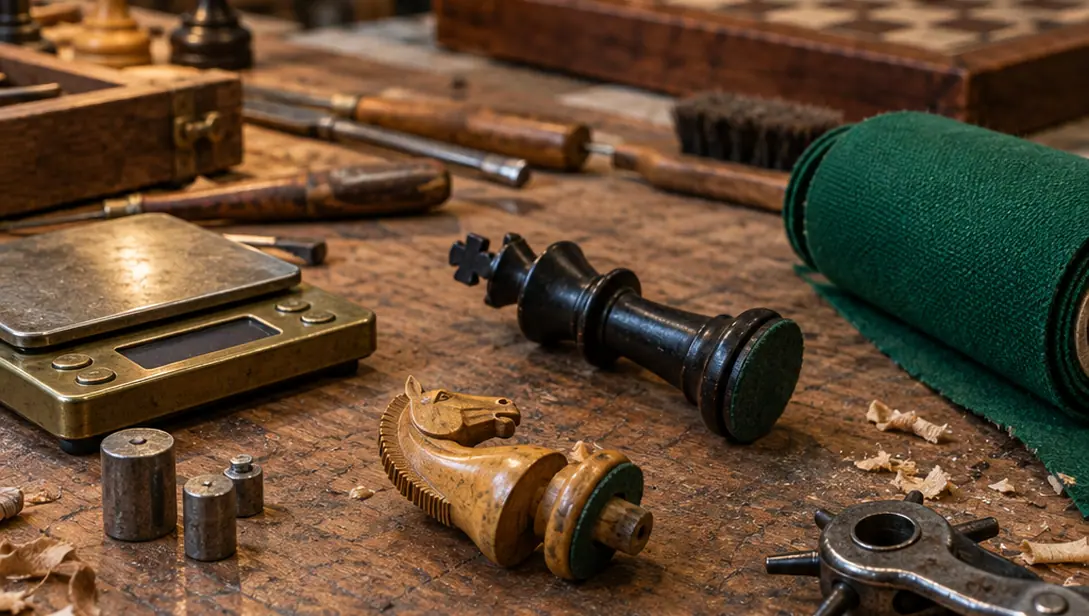
Applying abrasive paper to a vintage Staunton chess piece rounds off crisp turning beads in seconds. Chemical paint strippers dissolve original stains and historic patina, while foaming adhesives exert internal pressure that splits already compromised base walls. Sympathetic conservation avoids these irreversible losses, recovering tactile balance and board stability while keeping the turner's original tool marks intact.
Separating Irreversible Wood Damage from Repairable Wear
Differential movement drives most structural failures in weighted chessmen. Hardwood expands and contracts across the grain as ambient humidity fluctuates, whereas an internal metal slug remains dimensionally static. When aging boxwood or ebony shrinks around an unyielding metal core, hoop stress builds until a radial crack opens from the central cavity outward through the lower rim.
Boxwood turns to a remarkably fine edge because of its dense, homogeneous structure, yet it remains susceptible to end-grain splitting under tension. On dark pieces, opaque black coatings or dense surface patinas frequently conceal fractures along the mouldings. Inspecting the exposed underside and the outer sidewall under magnification with a raking light separates superficial handling scratches from deep structural splits that traverse the rim. Record whether an existing fracture alters its width under gentle, ordinary handling, and resist any impulse to flex the wooden walls deliberately.
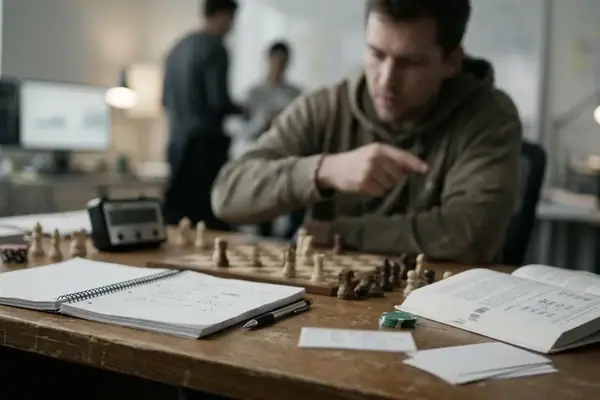
Before lifting a single corner of frayed fabric, compile a baseline diagnostic ledger across all 32 pieces. Document the rank, colour, current mass, base diameter, felt condition, audible core movement, and fracture locations for the entire set. Comparing these records helps distinguish original workshop variance from subsequent material degradation. Darkened handling surfaces on natural boxwood represent accumulated patina rather than structural failure, and should remain undisturbed during initial triage.
Movement inside a king's base and a radial crack around its insert demand separate diagnoses, even when both first appear beneath the same worn baize. For a rare, attributed, or unusually intact set—or one exhibiting moving structural cracks or powdering lead corrosion—have a qualified objects conservator determine the treatment scope before lifting original base coverings or disturbing the core.
Internal Mechanics of Weighted Staunton Bases and Adhesive Selection
Two Victorian rooks arrived on my bench last winter with deeply split pedestals, victims of a modern foaming polyurethane adhesive injected into their underside cavities to silence a rattle. Expanding polyurethane cures via moisture reaction, generating gas bubbles that swell into every crevice. Inside a thin-walled boxwood turning with tight confinement and excess glue, that volumetric expansion creates internal outward pressure that can cleave aged end grain.
Traditional turners bored cylindrical recesses into the underside of the pedestal, securing metal weights with animal hide glue, plaster, or dark resinous pitch. Over decades, seasonal moisture cycles cause animal glues to embrittle and release, plaster beds fracture under mechanical shock, and pitch-like compounds crack or creep. Visual inspection alone cannot reliably identify a darkened, crumbly historical binder, nor does a loose weight automatically require stripping out sound surviving bedding.
When selecting a conservation adhesive, match the binder to the specific gap geometry and the condition of the wooden wall:
- Traditional Hide Glue: Offers full reversibility and thermal or moisture retreatability. However, its water carrier requires tight control so moisture does not swell the surrounding end grain during cure.
- Non-Foaming Two-Part Epoxy: A low-shrinkage paste formulation bridges wide voids around an undersized insert without exerting expansion pressure. Because epoxy creates an irreversible bond that locks the metal rigidly to the wood, apply it so the slug rests supported without creating a tight press fit against the thin perimeter walls.
Equip the bench with a digital scale reading to 0.1 g (verified against a calibration check mass), optical magnification, a blunt curved lifting tool, sharp single-bevel scalpels, rotary leather punches, and non-marring padded cradles. Keep a brass-bristled brush in the drawer exclusively for cleaning detached, non-lead metal components; applying brass bristles directly to a chess piece scratches delicate surface finishes and sends toxic corrosion airborne.
Lifting Degraded Baize and Clearing the Base Cavity
Preserving the historical record begins before mechanical removal. Photograph the surviving textile and glue patterns on every piece, and retain a labelled fragment from each distinct covering campaign in an archival sleeve. Variations in wool weave, dye colour, and adhesive residue frequently document the chronology of earlier workshop repairs.
To release a degraded pad, slip a sharp blade nearly parallel to the underside beneath an already detached edge. Work systematically toward the center of the base, keeping the cutting edge clear of the turned bottom bevel. Using the wooden rim as a prying fulcrum crushes the delicate chamfer and leaves permanent indentations in the boxwood.
Once the textile lifts, test the exposed adhesive bed before attempting bulk clearance. Place a small square of barely dampened blotting paper against the residue for approximately 30 to 60 seconds, then lift and inspect under magnification. Water softens susceptible animal glues—it does not chemically neutralize them—allowing swollen gel to be lifted away with a blunt curved tool. Prevent free water from pooling inside the core cavity or bridging across onto vulnerable exterior varnish. Brittle modern contact cements do not respond to moisture and often release mechanically in small, fractured flakes; if solvent intervention appears necessary, test compatibility on a tiny concealed spot rather than relying on an aggressive universal stripper.
Verify the cleaned seating plane across multiple orientations on a dead-flat reference plate. Clear away raised glue ridges so the pedestal sits perpendicular to the board, but never scrape down the original wood. Turning the base into a newly planed surface alters the turner's architectural profile and erases historic lathe marks.
Extracting Oxidized Slugs and Balancing the Set Within Grams
A 0.1 g digital scale exposes the hidden asymmetries of nineteenth-century workshop production. When grouping a 32-piece set by rank and colour—comparing all four rooks, four bishops, and four knights—systematic mass variations frequently emerge between the denser dark hardwood pieces and their boxwood counterparts, alongside random variance from hand-cut metal cores.
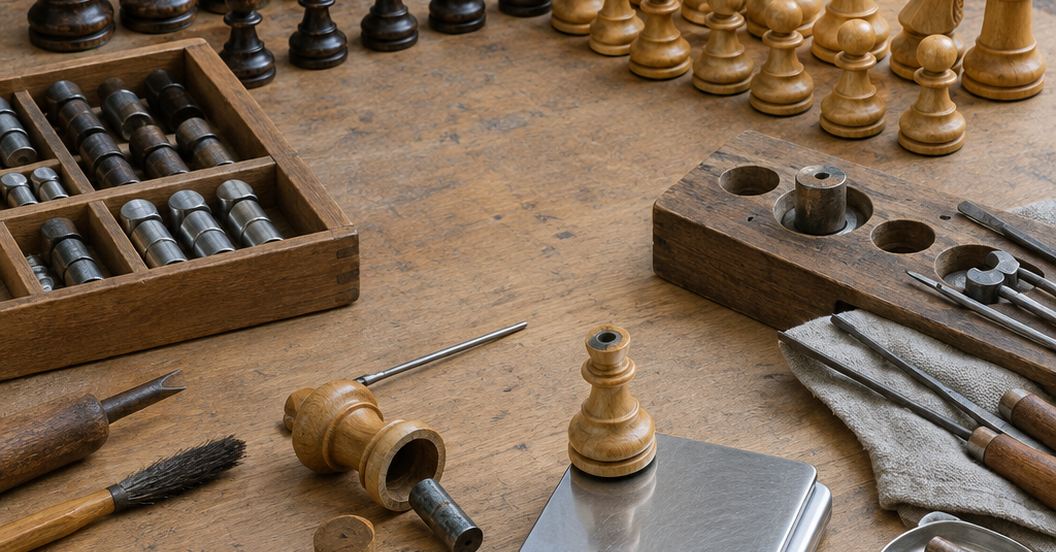
If a metal insert rattles loosely, coax it out through its existing opening while supporting the turning in a padded cradle; levering against the interior cavity wall risks snapping the pedestal. When an exposed historic slug displays a crusty white crystalline or powdery coating, treat the deposit as potentially containing lead carbonates. Colour alone cannot confirm chemical composition, so strict containment protocols apply. Follow established guidelines for managing lead corrosion on cultural heritage objects alongside CDC/NIOSH lead-safety practices: wear disposable nitrile gloves, work over a disposable lined surface, and prohibit food or drink in the workspace. Never dry-brush, sand, drill, heat, or blow on suspected lead corrosion, and never use a household vacuum, which aerosolizes fine toxic particulate across the room. Collect loose residue exclusively with barely dampened wipes and seal them for regulated hazardous waste disposal.
Ballast Equilibrium
A 2 to 3 g spread within a matching rank group serves as a practical workshop target, never a mandate to alter intact material. A two-to-three-gram matching target never justifies cutting away a surviving boxwood base, and a flat playing surface never justifies scraping off its historic bevel.
Low-mounted ballast shifts the center of gravity toward the pedestal footprint. During fast play, a tilted king or queen recovers upright cleanly so long as the vertical projection of its center of gravity stays inside its base diameter; adding excessive mass high up in the stem degrades recovery rather than improving it. Balancing a three-dimensional turned assembly requires accounting for rotational recovery, base diameter, and the exact vertical position of the ballast.
To adjust mass safely, select prefabricated steel slugs or solid bismuth alloy inserts, trimming them to weight well away from the restoration bench. Avoid cutting or abrading lead tape on the workbench to eliminate unnecessary heavy-metal dust, and avoid loose steel shot unless it is fully encapsulated so individual pellets cannot migrate and rattle. Factor the exact mass of the replacement baize pad and curing adhesive into your target calculation. Dry-fit the ballast low in the cavity, bond it in place, and re-verify both total mass and base flatness after the adhesive reaches full cure, repeating the inspection after approximately 24 to 48 hours of normal indoor storage.
Cleaning Boxwood Patina and Retouching Ebonised Surfaces
Genuine ebony carries dark heartwood pigment throughout its entire cross-section, whereas ebonised boxwood relies on a thin chemical stain or black lacquer applied over pale timber. Confirm the material by examining an existing rim chip or the unfinished cavity rim under magnification rather than scratching the piece. This distinction governs every subsequent surface cleaning and retouching choice.
Decades of skin oils, atmospheric soot, and degraded wax accumulate inside deep collar turnings and rook crenellations. While mineral spirits dissolve oily grime on many stable coatings, they are not universally harmless to historic varnishes, spirit stains, or wax fills. Barely moisten a cotton swab with mineral spirits—squeezing out excess liquid so solvent cannot run into hairline cracks or seep into the weight cavity—and roll it across an inconspicuous underside margin. Examine both the timber and the swab tip under magnification. If dark pigment or coating transfers to the cotton, halt immediately.
Where chipped edges on ebonised pieces expose pale boxwood beneath, opaque acrylic paints obscure the underlying wood grain and leave plasticized ridges. Instead, mix a transparent spirit-soluble dye to blend the visual loss while preserving natural pore texture. Because the alcohol carrier in spirit dyes readily dissolves shellac and mobilizes original dye layers, verify compatibility on a scrap sample and a concealed margin before touching a visible moulding.
When reviving a dull surface, recognize that French polishing with a nearly dry shellac pad is an active coating intervention that can pull up an earlier spirit finish if rubbed too long or too wet. For routine stabilization, apply a microcrystalline wax in a whisper-thin film and buff exclusively by hand with a soft lint-free cloth. Mounting a finished antique chess piece on a spinning lathe chuck introduces severe catch and ejection hazards, and aggressive mechanical friction quickly burns through crisp turning edges or pushes the surface to an unnatural, glassy shine that overwhelms the surviving satin patina.
Cutting, Sizing, and Seating Traditional Billiard Baize
Selecting an underside textile alters both board acoustics and sliding friction. Traditional woven wool billiard cloth provides a dimensionally stable interlock weave that resists lateral stretching. Pressed craft felt varies widely in density and compressibility, often crushing unevenly under heavy kings, while thin vegetable-tanned calfskin offers a firm, low-profile bearing surface with distinct glide characteristics. Because slide resistance depends on the interaction between the pad and the specific chessboard polish, test sample swatches directly across the intended playing surface.
Measure the textile thickness under light compression before cutting. An overly thick pad raises the piece visibly off the squares, exposing the raw edge of the fabric and introducing lateral rocking in tall pieces. Measure each pedestal individually inside its lower bevel rather than forcing a single nominal punch diameter across a hand-turned set where base widths naturally fluctuate.
- Test the Seal Coat: Exposed end grain on the base plane can wick liquid glue away from the joint, while liquid adhesive bleeding through porous wool creates hard, scratchy spots that mar polished board squares. Apply a minimal seal coat to the wooden seating plane on a scrap test block first—an overly heavy sealer weakens adhesive shear strength, and sizing the textile directly can stiffen the wool fibers.
- Punch or Trim the Pad: Use a sharp rotary punch on a sacrificial cutting mat to produce clean circular pads sized just inside the bottom chamfer. If seating an oversized square for flush trimming, allow the adhesive to reach its specified handling strength first, then guide a fresh single-bevel blade angled away from the wood so the steel never scores the historic bevel.
- Seat Under Controlled Pressure: Spread a thin, uniform adhesive film and press the piece down onto a flat reference plate. Apply clamping force through the lower pedestal walls rather than pressing down on delicate cross finials or mitre points.
Bench Release Protocol
- No opening base crack, moving insert, or loose corrosion remains.
- Each piece sits flat without adhesive ridges beneath its pad.
- Rank-group masses are recorded; original construction differences remain documented.
- Adhesive has reached full cure and bases remain stable after around 24–48 hours.
With the diagnostic ledger complete and the tools laid out, does the historic piece on your bench demand a full weight-and-baize rebuild for tournament play, or does its surviving material evidence call for quiet stabilization as an untouched artifact?